How to Make Simple Cleaning Slime in Minutes
If you’re looking for an innovative and effective way to tackle stubborn dirt and grime, then How to Make Simple Cleaning Slime in Minutes is a must! This delightful concoction not only serves as a fun DIY project but also transforms into a powerful cleaning tool that can reach the most challenging spots in your home or office.
Simple cleaning slime is a versatile solution that can lift dust, debris, and even crumbs from surfaces like keyboards, car interiors, and household items. Made from easily accessible ingredients like glue and borax, this slime is safe to use and eco-friendly, aligning perfectly with Tidyups Cleaning Service Inc’s commitment to providing top-notch cleaning solutions using environmentally-friendly products.
Whether you’ve got kids at home or are simply a cleaning enthusiast, this slime can make your cleaning routine both enjoyable and efficient. You’ll be amazed at how this gooey mixture can effortlessly adhere to dirt and grime, leaving your spaces spotless.
Ready to get started? Visit our Online Booking Page and get your FREE Quote today! Click Get an Estimate and discover how Tidyups Cleaning Service Inc can assist you in maintaining a pristine environment while you enjoy the fun of making your cleaning slime!
Essential Ingredients for Cleaning Slime

Creating your own cleaning slime is a simple process that requires just a few essential ingredients, easily found at your local store or online. Here’s what you’ll need to gather:
- White School Glue: This is the primary ingredient that gives your slime its consistency. Make sure to use a non-toxic version, especially if you have children around.
- Borax Powder: This is a common household cleaner that acts as a slime activator. It helps the glue to thicken and form the slime texture. If you prefer a borax-free recipe, you can substitute it with contact lens solution.
- Water: Used to dilute the glue and help combine all the ingredients together. The amount of water can vary based on your desired slime thickness.
- Food Coloring (optional): If you want to add a splash of color to your slime, a few drops of food coloring will do the trick. This is entirely optional but can make your cleaning slime more visually appealing.
- Essential Oils (optional): For an added touch, consider incorporating a few drops of essential oils to give your slime a pleasant fragrance. This can enhance your cleaning experience.
With these simple ingredients, you’ll be well on your way to making your very own cleaning slime, ready to tackle those tough stains and hard-to-reach areas in your home. The best part? You can customize your slime to suit your cleaning needs and preferences!
Step-by-Step Guide to Making Slime

Once you have gathered your essential ingredients, it’s time to dive into the fun process of making your cleaning slime! Follow this step-by-step guide to create a batch that will help keep your space spotless:
- Mix the Glue and Water: In a bowl, combine 1 cup of white school glue with 1/2 cup of water. Stir thoroughly until the mixture is well-blended.
- Add Color and Scent: If desired, add a few drops of food coloring and essential oils to the glue mixture. Stir until the color is evenly distributed.
- Activate the Slime: In a separate container, mix 1 cup of warm water with 1 tablespoon of borax powder (or contact lens solution if using a substitute). Stir until the borax is fully dissolved.
- Combine the Mixtures: Gradually add the borax solution to your glue mixture, stirring continuously. You’ll notice the slime starting to form as it thickens.
- Knead the Slime: Once the slime begins to pull away from the sides of the bowl, use your hands to knead it. This will help improve its consistency and elasticity.
- Store Properly: Place your cleaning slime in an airtight container to keep it fresh. It’s best to store it in a cool, dry place.
With these simple steps, you’ll have your own batch of cleaning slime ready to tackle various cleaning tasks. Enjoy the process and the satisfaction of making a product that not only cleans but also provides a fun, hands-on experience!
How to Use Cleaning Slime Effectively

Now that you’ve made your own cleaning slime, it’s time to put it to good use! This versatile cleaning tool can tackle a variety of surfaces and areas in your home or office. Here’s how to use cleaning slime effectively:
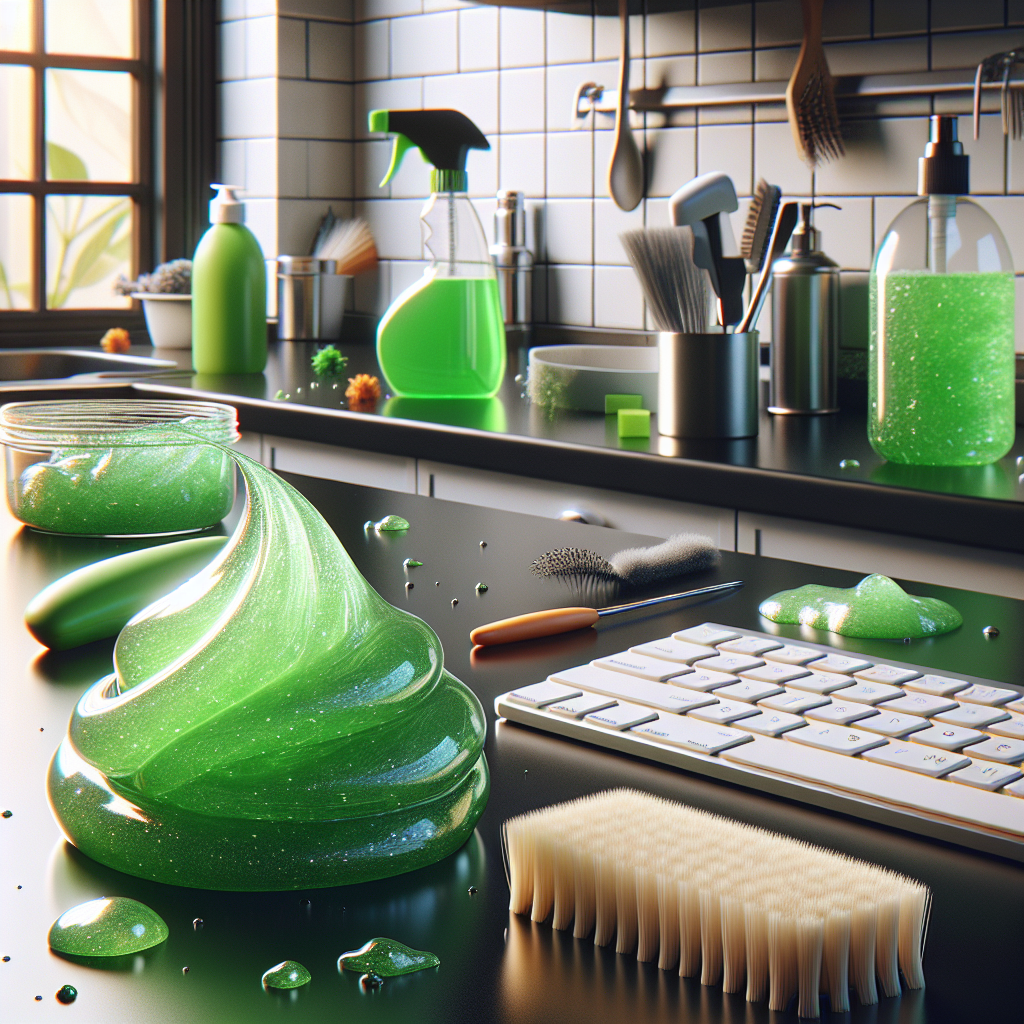
- Dusting: Press the slime onto surfaces such as keyboards, vents, and blinds. The slime will pick up dust, dirt, and hair, leaving these areas clean and free of debris.
- Cleaning Crevices: Use the slime to reach into tight spaces where cloths or brushes can’t easily go, like between car seats or in the grooves of your furniture. Simply push the slime into these areas and pull it out to collect dirt.
- Removing Pet Hair: For pet owners, cleaning slime is excellent for lifting pet hair from furniture and carpets. Gently press the slime into the fabric and then lift; you’ll notice the hair sticking to the slime.
- Detailing Electronics: Cleaning slime is particularly useful for phones, remote controls, and other electronic devices. Just be careful not to let any slime seep into openings or buttons.
- Cleaning Small Items: Use slime to clean small items like jewelry or gadget parts. Press the slime onto these items for a quick clean without scratching the surface.
Using cleaning slime in these ways not only makes your cleaning routine more efficient but also adds a fun element to the task. Give it a try in different areas, and you’ll be amazed at how well it works!
Benefits of Using Cleaning Slime

Cleaning slime is more than just a fun DIY project; it offers numerous benefits that make it an essential addition to your cleaning arsenal. Here are some of the key advantages of using cleaning slime:
- Eco-Friendly: Most cleaning slimes are made from simple, non-toxic ingredients, making them a safe alternative to harsh chemical cleaners. This is particularly important for households with children or pets.
- Versatile Cleaning Tool: Cleaning slime can be used on a wide range of surfaces, including furniture, electronics, and even car interiors. Its flexibility allows it to adapt to various cleaning needs.
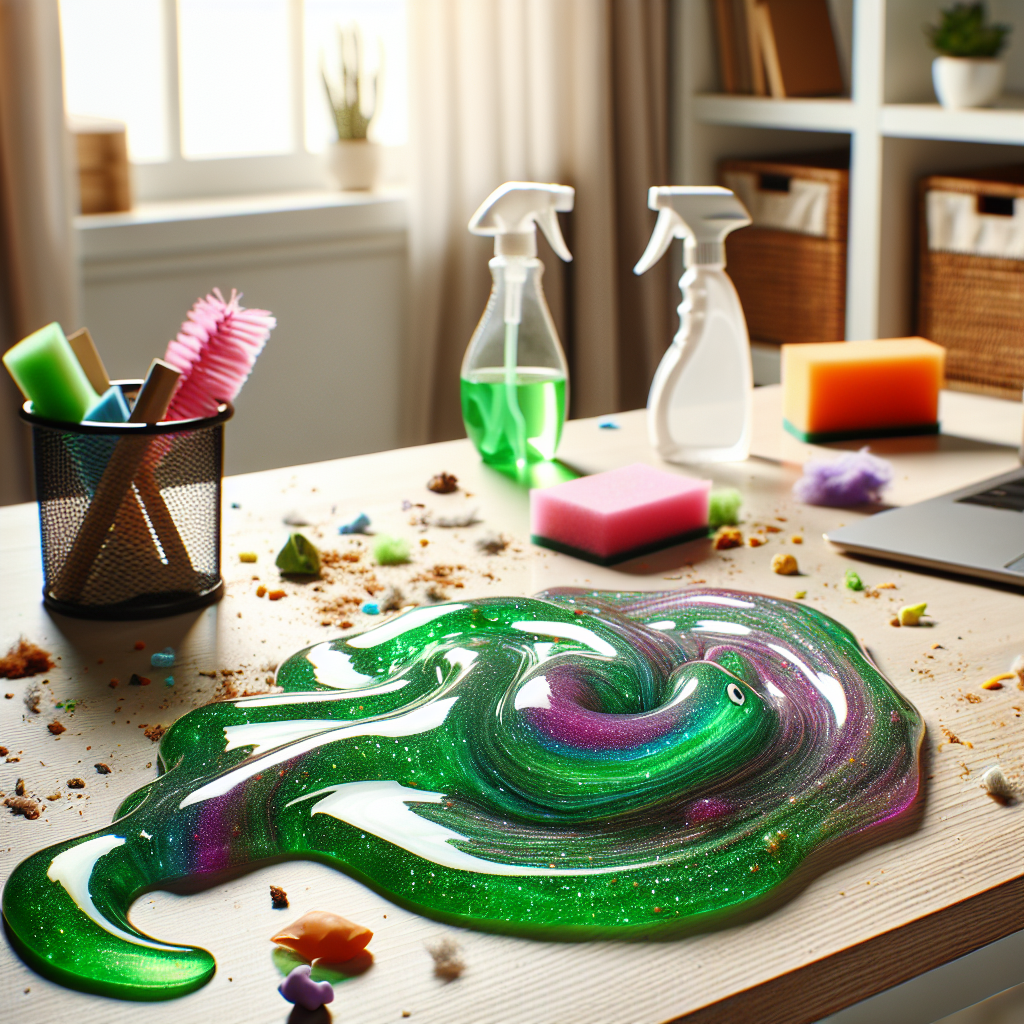
- Efficient Dirt Removal: The unique texture of cleaning slime allows it to pick up dirt, dust, and allergens effectively, especially in hard-to-reach places. This makes it a valuable tool for maintaining a clean environment.
- Reusable: Cleaning slime can be reused multiple times until it becomes too dirty. This not only saves money but also reduces waste, making it a more sustainable choice.
- Fun and Engaging: Using cleaning slime can make cleaning feel less like a chore and more like a fun activity. Its tactile nature appeals to both children and adults, encouraging everyone to participate in maintaining a tidy space.
Incorporating cleaning slime into your cleaning routine can enhance both efficiency and enjoyment, proving that effective cleaning doesn’t have to be tedious.
Tips for Storing Your Cleaning Slime

To ensure your cleaning slime remains effective and ready for use, proper storage is key. Here are some essential tips for storing your cleaning slime:
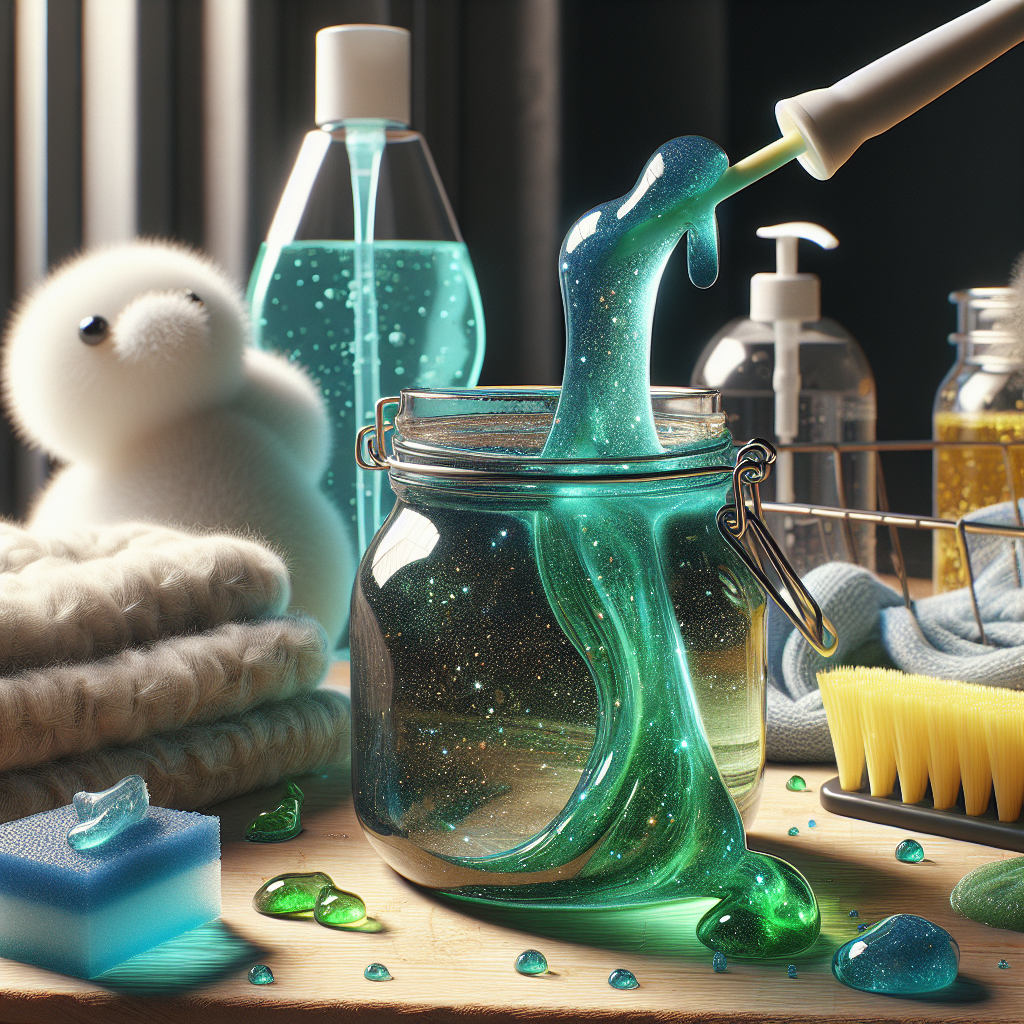
- Use an Airtight Container: Always store your cleaning slime in an airtight container to prevent it from drying out. A small plastic or glass jar with a tight lid works perfectly.
- Keep it Cool: Store the container in a cool, dry place away from direct sunlight. Excessive heat can alter the consistency of the slime, making it less effective for cleaning.
- Avoid Contaminants: Ensure that your hands are clean before handling the slime. This helps to keep it free from contaminants that could degrade its quality.
- Check Regularly: Periodically check the slime for any signs of drying or mold. If it appears hard or discolored, it may be time to make a fresh batch.
- Label Your Containers: If you have multiple types of cleaning slime, consider labeling the containers. This way, you can easily identify which one is best suited for specific cleaning tasks.
By following these storage tips, you can extend the life of your cleaning slime and ensure it remains a useful tool in your cleaning routine. Visit our Online Booking Page and get your FREE Quote today! Click Get an Estimate to discover more ways Tidyups Cleaning Service Inc can help maintain your pristine spaces.